Chamberlain Garage Door Opener How-to & Troubleshooting Guide
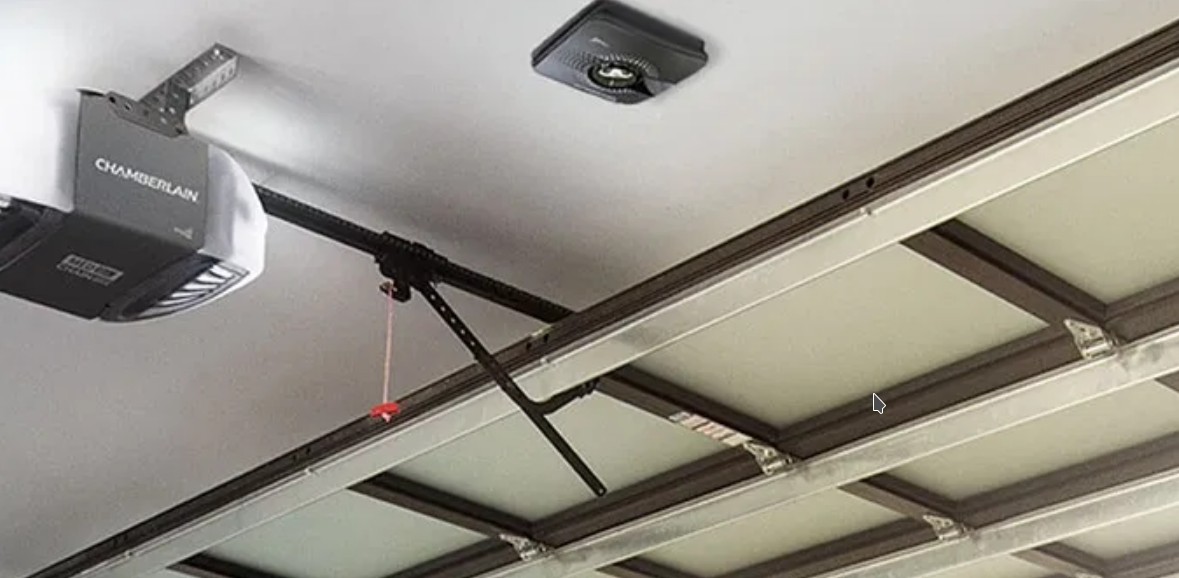
Chamberlain manufactures a line of popular garage door openers such as Craftsman, LiftMaster, and Sears, among many others. It has the horsepower to run older garage doors while running more quietly than other heavy-duty openers in the market. The Chamberlain Wi-Fi garage door openers come with advanced features that allow users to monitor their garage doors remotely for better security.
Over time garage door openers will present a few issues due to broken parts, incorrect installation, and poor maintenance. Fortunately, Chamberlain garage door openers are known to be relatively easy to fix. The key to fixing the problems is first understanding what the signs mean, diagnosing, and troubleshooting. We will address common issues with the Chamberlain garage door openers in the article below.
How to program Chamberlain garage door opener
Programming the garage door opener allows you to run the garage door using the remote controls.
Programming using the learn button.
- Find the Learn button at the rear of the motor unit.
- Press and release the Learn button, and the learn LED light will have a solid glow.
- Within 30 seconds;
- Remote: Press the button on the remote control that you want to operate the opener.
- Keyless entry: Enter a four-digit PIN of your choice on the keyless entry and then press Enter.
- The garage door opener lights will flicker, or you will hear two clicks, and the remote controls and keyless entry are programmed.
Programming using the door control
- Locate the Learn button on the wall door control.
- Press the Learn button twice, and the LED will blink.
- Remote: Press the button on the remote control once that you want to operate the opener.
- Keyless entry: Enter a four-digit PIN of your choice on the keyless entry and then press Enter.
- The garage door opener lights will flash once, or you will hear two clicks, and the remote controls and keyless entry are programmed.
Programming using the smart control panel
- Press the navigation button below the Menu button to open the Features menu.
- Scroll to ‘Program’ using the navigation buttons.
- Select Remote or Keypad to program to operate the opener.
- Remote: Press the button on the remote control that you want to program to run the opener.
- Keyless entry: Enter a four-digit PIN of your choice on the keyless entry and then press Enter.
- The garage door opener lights will flash once, or you will hear two clicks, and the remote controls and keyless entry are programmed.
How to program the Chamberlain garage door opener to a car
Nowadays, most vehicles have an inbuilt garage door control panel that allows you to operate the garage door through Homelink technology. Still, you have to program the control panel to the garage door manually. Homelink is compatible with most garage door opener brands, including Chamberlain. Follow the steps below to connect your car’s Homelink control to your garage door opener.
Program using the learn button.
- Turn on the car and leave it in the parking.
- Locate the transmitter buttons in your car, usually on the visor or console.
- Locate the learn button on the opener’s motor unit and press it once. Do not hold the learn button, as this will erase all the programmed remote controls.
- Within 30 seconds of pressing the Learn button, press the Homelink button you want to program to your garage door opener.
- You will hear a click, or the opener light will flash once to show successful pairing.
- Test the connection by pressing the Homelink button once.
Program using the remote control
- Turn on the car and leave it in the parking.
- Find the remote control that is working correctly with the garage door opener.
- Choose the Homelink button you want to pair with your garage door opener.
- Press and hold the Homelink button until the LED light blinks slowly.
- While holding the Homelink button, hold the remote control close to the Homelink button and press the remote control button until the Homelink button blinks rapidly.
- When the flashing stops, press the Homelink button to test if the pairing was successful, and the garage door should either open or close.
How to reset Chamberlain garage door opener
Resetting will erase all memory in your garage door opener of all programmed remote controls, wireless keypads, and keyless entries.
- Locate the Learn button on the backside of the opener’s motor unit.
- Press and hold the Learn button until the learn LED light goes out, approximately six seconds.
- All saved codes clear from the opener, and you can reprogram all the remote controls and keyless entries.
How to connect the Chamberlain garage door opener to Wi-Fi
Chamberlain garage door openers allow you to monitor and control your garage door remotely using the MyQ app. Make sure you have a smartphone and a Wi-Fi router with a 2.4 GHz frequency.
- Download the MyQ app from the Apple store or the Play Store.
- Create an account or if you already have an account, log in using your email address and password.
- Click on the plus(+) sign on the top right corner of the screen.
- Select Garage Door Opener with Wi-Fi Ceiling Installed.
- Read the prompt that appears and click Next.
- Press and release the learn button on the garage door opener three times to activate Wi-Fi mode. The Wi-Fi garage door opener will beep once and flash the LED light.
- On your phone, go to Settings> Wi-Fi and select the network that starts with ‘myQ-XXX’ on your phone.
- Go to the myQ app and select your home Wi-Fi network from the list.
- Enter your Wi-Fi password, click Next, and your garage door opener is preparing to connect.
- Name your garage door opener and click Next.
- Tap Finish and your garage door opener will appear in the app.
- Tap the garage door to operate the opener.
How to erase Wi-Fi settings on my Chamberlain garage door opener
If your garage door opener has issues connecting to the router or recently changed or reset your home router, you will have to erase the previous settings. Follow the instructions below to erase Wi-Fi settings from your Wi-Fi garage door opener.
- Locate the black adjustment button between the arrow buttons at the back of the motor unit.
- Press and hold this black adjustment button until you hear three beeps.
- Continue to hold the button for about six seconds, and the down arrow button will start flashing. You will hear another three beeps.
- Wait a few seconds for the LED indicator light to go off and the Wi-Fi settings clear.
How to change frequency on Chamberlain garage door opener
Garage door openers use radio frequencies to operate, and all the devices paired to your garage door opener operate on the same band of frequencies. Over time, manufacturers have changed the frequencies that the garage door openers use. Therefore changing the frequency depends on the age of the garage door opener.
You cannot change the radio frequency of the garage door opener, but the steps below will fix the connection between the opener’s receiver and the remote control. Follow the steps below to know how to change the frequency on newer and older Chamberlain models.
Models with a dip switch(older)
- Place a stepladder under the garage door motor unit.
- Use a Phillips screwdriver to remove the screws holding the opener’s light cover.
- Look for the antennae wire hanging from the motor unit and attached to the receiver that contains the dip switches.
- Remove the receiver cover to expose the dip switches.
- Open the battery compartment cover on the remote control.
- Note the position of the dip switches in the remote control is similar to the dip switches on the receiver.
- Adjust the receiver dip switches up or down with a flat-head screwdriver and adjust the remote control dip switches to the same position.
- Close the battery compartment on the remote control, the receiver cover, and the light cover.
Models with a learn button(newer)
- Place a stepladder under the garage door motor unit.
- Locate the Learn button at the backside of the motor unit.
- Press and release the Learn button, and the LED light will flash turn on for about 30 seconds.
- Within 30 seconds, press the open/close remote control button, and the LED light will turn off.
- Press the remote control button, and the garage door will operate.
How to change the battery in Chamberlain garage door opener
Chamberlain garage door openers have a backup battery that allows users to operate the garage door opener when the power is out. When the opener runs on battery power, it will be slower, and the battery status LED will illuminate solid orange or beep every two seconds. With regular use, the battery will discharge fully and require changing after about one to two years. To change the garage door opener battery;
- Remove the garage door opener from the power outlet.
- Open the light lens on the right side of the opener’s motor unit.
- Use a Phillips head screwdriver to remove the screws securing the battery compartment cover onto the opener.
- Pull the old battery out and disconnect the red and black wires from the battery terminals.
- Connect the wires to the new battery. The red wire should connect to the red terminal and the black wire to the black terminal.
- Insert the battery into the battery compartment and replace the cover.
- Plug the battery into the power outlet, and the battery status light will blink green to indicate the battery is charging. The light will turn solid green once it fully charges after 24 hours.
- To test the battery, disconnect the garage door opener from power and press the remote control or the wall control, and the garage door should operate.
Chamberlain garage door opener diagnostic codes troubleshooting
Chamberlain garage door openers have self-diagnostic capabilities that alert the user when the opener has a problem. The up and down arrow buttons on the garage door opener will flash a diagnostic code, pause, and repeat. Below is a table explaining the codes, symptoms, and troubleshooting tips.
| Up arrow | Down arrow | Troubleshooting |
| 1 | 1 | Symptom: The garage door will not close, and the light bulb will flash. The safety sensors are not installed: install the safety sensors. Sensor wires are damaged: Inspect the wiring for damage and replace them. |
| 1 | 2 | Symptom: The garage door reverses when closing, and the light bulb will flash. Inspect the sensor wires and check if they are correctly connected or reversed. Reconnect the black and white wires correctly. The wires are short and require replacing. |
| 1 | 3 | Symptom: The door control does not function. Inspect the door control wires at the connection points and reconnect the wires correctly. The wires for the door control are broken or shorted out (can happen after installing holiday decorations) and require replacing. |
| 1 | 4 | Symptom: The door does not close, and the light bulb will be flashing. The sensors are misaligned or obstructed. Realign the sensors and make sure the LEDs are solid and not blinking. Clean the sensor lenses to remove grime and dirt. Ensure there are no objects around the doorway. |
| 1 | 5 | Symptom: The door closes six to eight inches and stops or reverses. Engage the emergency release rope. Check for binding or obstructions around the springs and get a technician to replace any broken springs. Inspect the wiring connections at the travel module and the logic board and replace them if necessary. Misaligned travel module and force. Readjust the travel force and clean the RPM sensor wheel. Symptom: The opener only clicks, with no hum and movement. DC motor wiring is disconnected: Reconnect the wire harness. Overheated AC motor: Disconnect the opener from power for about 45 minutes for the motor to cool down. Faulty logic board: Replace the logic board. Defective motor: Replace the motor. Symptom: The opener hums for less than 5 seconds, with no movement. Broken torsion spring: Replace the broken torsion springs. Garage door manual locks are engaged: Disable the manual locks. The inner trolley is stuck on the stop bolt: Loosen the chain. Move the trolley away from the stop bolt by holding the black adjustment button until the opener beeps, then pressing the down arrow for 1 second. Tighten the belt back up and reset travel and force adjustments. Drive gear stripped: Replace gear and sprocket assembly. The capacitor is defective: Replace the capacitor. Damage motor due to longer bolts holding the rail to chassis: Replace motor. The door is in manual mode. Reengage Manual Release rope. Symptom: The opener hums for more than 5 seconds, with no movement. The trolley is disengaged: Reconnect the inner and outer trolley. Broken sprocket on the AC unit or DC unit: Replace the sprocket assembly. A broken shaft on the DC motor: Replace the DC motor. Teeth on belt stripped: Replace belt. Loose RJO collar: Tighten the collar. |
| 1 | 6 | Symptom: The door hangs after the motor stops during the closing cycle. The garage door is unbalanced: Rebalance the door. Travel force is out of alignment: Reprogram the travel force and limits. |
| 2 | 1-5 | Symptom: No door movement or sound. Defective logic board: Disconnect the backup battery and unplug and plug in the garage door opener from power. Replace the logic board if the code persists. |
| 3 | 2 | Symptom: The door refuses to realign its travel limits. Defective travel module: Check the travel module for proper assembly and replace it if necessary. |
| 3 | 3 | Symptom: The battery status LED is flashing green constantly.Battery logic error: Replace the logic board. |
| 4 | 1-4 | Symptom: The door stops or reverses during the closing cycle. Obstruction in the garage door path: Remove the objects around the door, clean the sensor lenses, and ensure door reinforcement isn’t damaged. The garage door is out of balance: Rebalance the garage door. Broken torsion spring: Replace broken torsion springs. Worn rollers: Lubricate or replace damaged rollers. Broken door hinges: Lubricate or replace the hinges. Garage Door is out of alignment: Realign Garage Door. Reprogram travel and force adjustments. Loose wiring at the travel module: Check the connection points to ensure they fit correctly. Replace damaged wire harness. |
| 4 | 5 | Symptom: The garage door reverses to the open position during the closing cycle, or it does not move and remains at the open position. Check the travel module installed is correct. Replace with the suitable travel module if necessary. |
| 4 | 6 | Symptom: The garage door reverses to the open position during the closing cycle. The garage door will not move, and the opener lights will flash or hear a click. Sensors are not installed: Install the safety sensors. Sensors are not wired into the opener or wired incorrectly: Connect wires at the opener properly. Sensor wires are broken or shorted: Replace the wiring to both lenses. |
My Chamberlain garage door opener is not connecting to Wi-Fi
When the garage door refused to connect to Wi-Fi, you will have to troubleshoot it depending on the number of beeps the opener produces and the status and color of the LED light.
Before troubleshooting, make sure your Wi-Fi router is receiving power and that you are inputting the correct password without copy-pasting. After verifying that there is no problem with the router, proceed with troubleshooting tips in the chart below.
| Opener LED light | Number of beeps | Troubleshooting |
| No LED, no flashing | No beeps | Ensure there is AC power to the opener. Check if there is power at the outlet but unplugging the opener and connecting another device. If there is no power, check the circuit breaker and turn it back on. If the issue persists, replace the power outlet as there may be a short wire in the socket. Reset the opener and reconnect it to the router. Ensure you are putting in the correct password. Reset your Wi-Fi router by long-pressing its reset button. |
| Flashing blue light | No beep | Ensure you are using the correct router password in the myQ app. Move the mobile phone closer to the garage door opener as the signal may be weak. Make sure your phone connects to the same Wi-Fi router you use for your garage door opener. Reset the garage door opener and repeat the setup process; resetting clears any previously saved network. |
| Solid blue light | No beep | Turn off mobile data settings on your phone and reconnect it to your home Wi-Fi network. Reboot your opener by unplugging it from power and plug it in again. Reset the opener and reconnect the Wi-Fi settings. Make sure you are using the correct router password and that it is on the 2.4 GHz network. |
| Flashing blue and green light | One beep | Reboot your Wi-Fi router by disconnecting it from power and plug it back in. Wait a few minutes and check if the LED light turns solid green to indicate a successful connection. Check if your router’s MAC address filter is enabled. If it is, add the garage door opener’s MAC address to your router’s allowed MAC address list. Ensure your router settings match the recommended settings for myQ products. |
| Flashing green light | Two beeps | Power cycle the garage door opener by disconnecting it from power and plugging it again. Power cycle the router. Ensure your router has a firewall installed and that the TCP port 8883 is open. Check your firewall settings and ensure there is no network security device blocking the Wi-Fi network. |
| Solid green light | Three beeps | Successful Wi-Fi connection to your garage door opener |
Conclusion
After reading this article, you will have learned how your Chamberlain garage door opener works and how to troubleshoot some basic problems yourself without the help of a technician. Keep in mind that fixing a garage door is dangerous. Always have someone to help and stay clear of the garage door path if it comes loose accidentally.
Remember that thorough garage door maintenance can solve or prevent the most common problems your opener will ever face.


Garage door keeps opening by its self 2 times a day once in the early morning and once in the afternoon/night we reset the controller’s and still opening by its self