How to Reinforce a Portable Garage
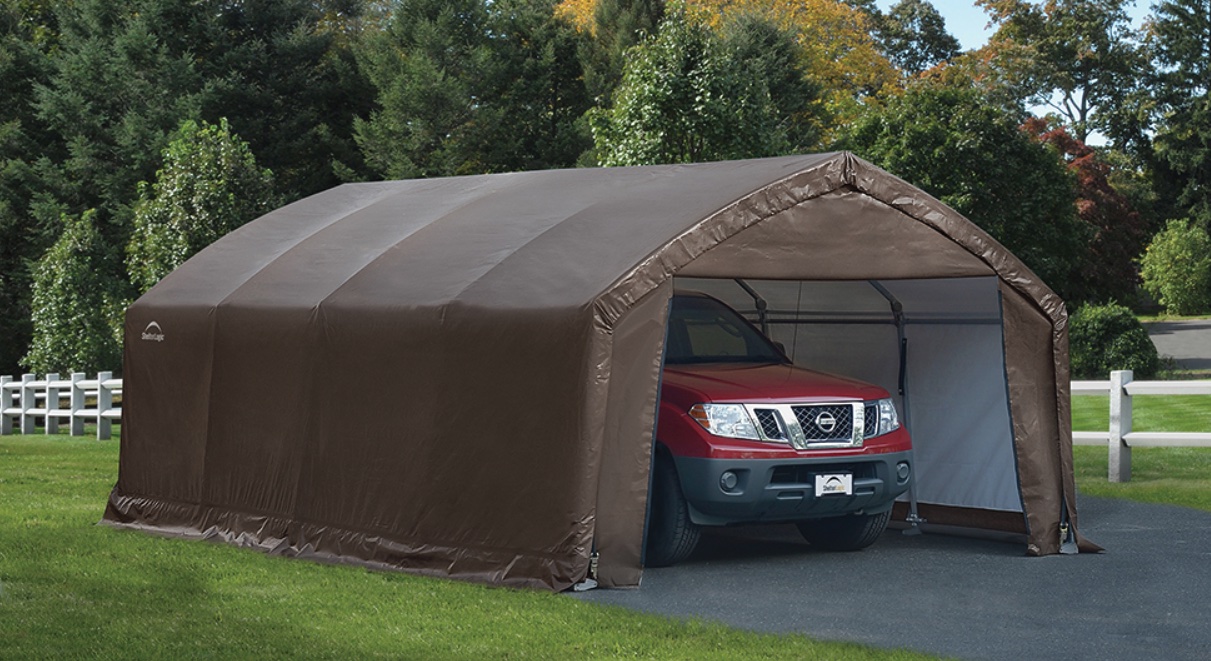
A portable garage is a great alternative to a fixed garage for circumstances where you can’t permanently fix a structure on a rental property. In addition, a portable garage is a great way to ensure that your items are well-protected.
However, they can easily get blown away during a windstorm due to their lightweight. Keep reading to learn how to secure a portable garage.
How do I anchor a portable garage to the ground?
Here are some tips to help you reinforce your carport;
Reinforcement on different surfaces
Anchoring your portable garage on an earth surface
To secure the carport on grass or dirt, you need to ensure you get an earth anchor. These can be pushed down into the ground very easily and very quickly, but they hold your portable garage or shelter firmly and securely into the ground. The great part is – that they’re also environmentally sensitive too.
Anchoring your portable garage on asphalt or road tar.
You must ensure that the anchors you buy are made to hook onto asphalt or tar. You cannot buy anchors made to grip dirt for asphalt surfaces – you have to purchase the anchors made for driveways or cement slabs because they tend to be tougher, more secure, and more heavy-duty. In addition, these types of anchors tend to have holes for drilling the foot of the anchor into the asphalt surface.
Anchoring your portable garage on concrete
The anchors are usually drilled into the concrete slab when it comes to the concrete surface. The wedges of the anchors are inserted into a pre-drilled hole at the base of the rail. This will allow a secure hold for your portable garage, which can withstand any weather conditions it may face.
Note: To anchor your heavy-duty portable garages, too large and too heavy-duty to be secured by the average anchor – you will need to use heavy-duty auger anchors. They work best for the top-heavy portable garages.
Anchors made for the more heavy-duty portable garages have jaw-to-jaw turnbuckles that are stronger than other anchors. They are available for earthy surfaces and asphalt surfaces as well. The largest anchor you can get in the store is 60 inches long with a seven-inch diameter.
Reinforcement of Different types of Portable Garages
Polyethylene Fabric
The polyethylene fabric is made to endure any weather conditions while it provides a much lighter option. However, it may be tricky to keep it secure since it’s a lighter material.
Your best option for anchoring a polyethylene fabric portable garage is concrete blocks. This material is excellent for those who prefer portability since the fabric is easier to work with.
Check this too: How Do You Secure a Wooden Shed to the Ground?
Another option would be to use water buts. So you would buy 10-gallon water drums, place them around each side of the portable garage, and then fill them with water.
Metal Portable Garage
Portable garages are made with metal and are great for standing up to snow, hail, and heavy winds. Also, since it’s made of metal, it will last longer than the polyethylene fabric.
Securing portable metal garages is easier since most kits come with materials to anchor them. First, however, you would need to do a couple of steps to secure your metal portable garage.
Different Types of Anchors for Your Portable Garage
Rebar Anchor
Rebar anchors are great for low winds and more efficient when installed in sturdy soil. Having said this, it does not do too well in strong winds. These anchors are usually available 32 inches long and 12 inches wide. The anchors are fixed on the base rail and then secured on the ground during installation.
The rebar anchor looks like a very long, thin screw, which you’ll find in the picture below. If you live in an area where you experience high winds, you might go for a different anchor to secure your portable garage.
Concrete Anchor
Concrete anchors are the best to use to secure your portable garage. Especially if you want to make your portable garage permanent, these anchors are great for concrete surfaces where they provide the best results.
Once the base rails are in place, you’ll fix these anchors in the middle of the hole and drill about three to four inches into the concrete. After that, a concrete expansion will be placed inside the hole, and then the nut will be tightened, which will secure the base.
Note: Different concrete anchors are available in different lengths, depending on the dimensions of the foundation of your portable garage.
Asphalt Anchor
The asphalt anchor is usually 32 inches long and is inserted through pre-drilled holes in the base rail. Then a small hole would be created on your asphalt, and the anchor is driven into the ground, usually with a sledgehammer to get through to the asphalt surface.
These anchors have either a screw-like thread or barbs on the shaft to ensure that your portable garage will be secured. This anchor is only great on asphalt surfaces and cannot be used in concrete or soil.
Mobile Home Anchor
Mobile home anchors are also known as auger anchors. The mobile home anchor is also 32 inches long and is usually inserted through pre-drilled holes in the base rail. A sledgehammer also drives this anchor to secure it on the ground. It is best to use it on dirt or soil surfaces.
This provides a secure hold for fastening cables or straps that you may have in your portable garage. These anchors do not require cement for permanent placement unless local building codes require it.
How to reinforce a portable garage to withstand a storm
It is important to secure your portable garage in high wind areas. This will prevent it from flying off during a windstorm. Here are some basic steps to help you keep your carport protected from the wind;
Enclose the Carport
Opt for the sidewall panel additions on a carport. These will enclose the space and leave less room for air to get underneath the structure and potentially lift it from the ground. It will also create a shield from any other flying debris gone airborne and could strike your valuables.
Anchor It to The Ground
Metal carports are not heavy structures, which is a large part of their appeal (and their affordability and ability to be constructed on a short timeline). However, with that said, the lightweight nature of metal carports can make them susceptible to high winds.
To ensure that yours stays firmly in place, it’s imperative to anchor it. If you construct your carport on a concrete pad, this is a particularly powerful step, if not the most important. The concrete anchors used to tie it down will give the structure a firm, secure grip on the ground.
Place It Strategically
Carports are frequently constructed close to other existing buildings. If this is the case for your new carport, think about the prevailing wind patterns in your area. Then, place your carport in a spot that is likely to be protected from storms between or beside buildings.
Setting your carport next to an existing building isn’t keep all of the wind away, of course, but it may reduce its force. So if you’re not planning to build your carport near another structure, don’t worry. You may still be able to find wind protection by using your property’s terrain to your advantage.
If you have a hill on your property, placing your carport on the protected side of that hill can keep the worst of the winds away. By examining your local wind patterns, you can determine which side will provide you with the most protection.
Get The Correct Carport Design
The design of your carport can make a big difference in how well it holds up in high winds. Providing the wind away out can help to protect your carport.
For instance, carports with only one wall that goes down to the ground may not be the best choice in a windy location. This is especially true if the open side of the carport is facing the prevailing wind. However, leaving both sides open would allow the wind to blow through one side and out of the other.
Buy A Quality Product
A quality carport is far more likely to make it through a windstorm than one that is not made from high-quality materials. This is because every component of the structure will be tested during high winds to expose any weak points.
Proper Assembly and Installation
Durable components are only useful if they are put together properly. When your carport is installed by our team at American Carports, Inc., you can expect the work to be done thoroughly and correctly by experienced professionals. You can feel confident that your carport will hold in even the toughest of storms when working with our team.
How to Anchor a Portable Garage
Start by ensuring the ground is level, and the whole area is clear. The space around the site should also be clear to have more space when installing the carport. You might have to deal with mud and water during a storm. Also, heavy rain pouring can cause ground erosion from around the site.
Check this too: How to Keep a Garage Cool in Summer?
Anchoring A Carport To Dirt
Most models come with ground anchors to anchor them in the dirt. You can also acquire Earth-drive anchors. These are available in most home improvement stores.
An Earth-drive anchor is a two-inch rib surrounding the shaft’s diameter. The ribs keep the anchor from pulling out dirt when there’s a high wind.
Follow these portable garage setup steps;
- Find the holes intended for the anchors at the base rail. These base rails are located on every side of the carport. They are also designed flat onto the grounds. Most manufacturers position the four holes on each carport’s sides for anchoring.
- Then drill each of the holes using a hole saw. Use a hole saw similar to the anchor’s lower portion. If the carport does not come with anchors, the drill will also help accommodate each Earth-drive anchor’s spine.
- Insert the anchor from the top of the whole towards its end, touching the ground. You will need a helping hand to hold the anchor straight.
- Using a sledgehammer, you have to hit the anchor’s top to push the anchor into the ground. Continue doing this until the head’s bottom is already resting neatly onto the base rail’s top.
- Repeat these steps for all four anchor points.


