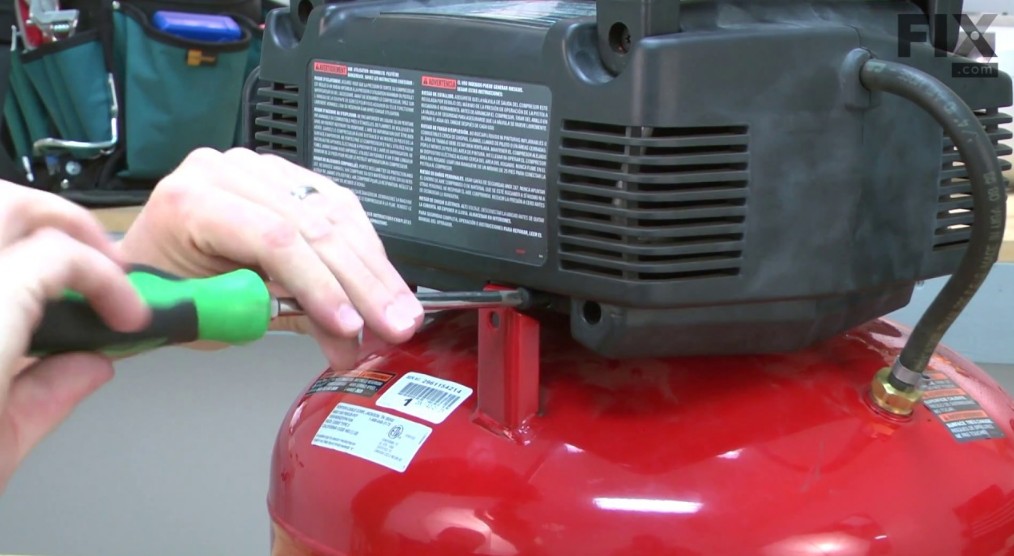
Porter Cable Air Compressor Troubleshooting & How to Guide
It does not matter if your air compressor is still new, or if you have had it for a few years now. The truth is that compressors get some kind of issue at some point. Understanding the common potential issues that arise is important. Below are a few highlighted issues that will make it possible for you to troubleshoot and remedy the problems when they occur. The porter cable air compressor is a brand that specializes in smaller air compressor systems. A common issue with this brand is as follows.
Troubleshooting Water inside the Compressed Air
Most people experience this issue since it is the most common. It shows when you realize water coming out of the unit when you spray or when you use compressed air. Some people may realize that water collects in the tank. To fix this:
- Remove the air tank from an extreme humidity area
- Drain the air tank routinely, if possible after using the compressor.
The Compressor Refuses to Start
It is possible for the compressor not to start. When this happens, do a few things first before dismissing it as a broken case.
- Check that the machine is plugged in and switched on.
- Next consider the pressure switch if it is plugged and switched on.
- When the pressure switch is set for cutting the air below the compressor tank’s current air pressure the pressure switch will not be tripped into the on position. Consequently, the machine will not going to start.
The Pressure Does not build beyond 40psi
In case the machine turns on but does not go beyond 40psi pressure mark, then you need to do a few things.
- Ensure the electricity voltage is full 115Vot 15AMP or 220V. Consider changing from an extension cord to direct source of energy.
- Check for potential air leaks. Listen to the leaking air in the compressor. If there is a leak, you may hear unfamiliar noises.
- Inspect the intake and exhaust valves. They may fail to seal if they are broken, making the compressor to run for long without building up enough pressure required shutting off the system.
- Check if there are any leaks in the pressure switch system. The switch system is made in such a way that it prevents any leakage, thanks to its rubber diaphragm.
Porter cable air compressor turns on but will not turn off
This is triggered by the pressure switch inadequacies. In case the air compressor runs and the tank pressure bypass the cut-out setting of the pressure switch, this may be a problem of a failed pressure switch failure or improper wiring that’s causing that.
Porter-cable pancake air compressor will not build pressure
The reason behind the reciprocating compressor’s inability to reach sufficient pressure is often a defective reed valve. This is responsible for exhausting air out from the air inlet on the single-stage models. It can also do the same through the intercooler safety valve if the defective reed valve on a two-stage piston compressor. In case your machine consistently fails to build enough pressure to guarantee efficiency, consider the following:
- Conduct a pump up test. Consult the distributor of your machine to know the cut-off setting and duration the machine should take to build the right PSI from zero.
- Keep filters clean. Always check the filters and clean or replace them when necessary.
- Always assess the air demand and screen for any leaks.
- Check every compressed air system valves
- Evaluate the belt condition
- Inspect the pump rings
- Check the motor capacitors
- Examine the oil or air separator and
Porter cable compressor won’t start
- Ensure that all plugs and extension cords are well connected. Adjust and turn the power switch on.
- Plug a lamp or radio and check if it works, directly connect the compressor in the outlet by removing the extension cords. Replace extension cords when it works.
- Inspect the air compressor’s reset button. Some air compressors have the reset button located at the end of the motor’s housing. Look out for a small-sized button that is black in color. Press it to reset the entire thing and re-test.
- In case it fails, inspect the circuit breaker box. It is possible that there is a flipped breaker. Turn it off and back on and check the power again.
- The pressure release valve is situated close to the left section of the compressor. Pull the ring to release pressure. This might start the compressor.
Porter cable air compressor overheating: causes and fixes
It is possible that the problem is caused by irregular suction or discharge pressure. It could also stem from insufficient ventilation, a case of eroded oil, or other issues related to the machine’s wear and tear. Generally, several reasons may trigger the overheating as follows.
- Low suction pressure which is triggered by faulty metering devices, improperly fitted components, refrigerant loss, pressure drop, and obstructed strainers.
- Excess discharged pressure caused by condenser air blockage, inconsistent condenser fan, dirty condensing coils, overcharging refrigerant, an undersized condenser and wrongly fitted discharge line.
- Inadequate cooler space
- Old and clogged parts
- Poor venting caused by inadequate condenser room
- Frequency of use
- Eroded oil
- Ambient temperature
- Thermal valve failure
- Limiting air compressor type
Despite the triggers, you can always call the experts to help check and fix the situation. Learn to check for the signs of overheating which include:
- The compressor failing to turn on
- Tripping circuit breaker
- Issues related to oil such as erosion, smell, and noises
- Accelerated wear that affects life expectancy
Fortunately, there is a way to prevent such issues. Consider the following always:
- Focus on enhancing ventilation. Make sure the compressor is well ventilated and nothing blocks it.
- Monitor the oil levels and check the filters to replace when needed
- Monitor the ducting and ventilation by inspecting temperature levels
- Ensure the compressor parts are up to date
How to identify and seal leaks on your air compressor
You can easily detect leaks using an ultrasonic acoustic detector. This tool recognizes the high-frequency hissing sounds that are associated with air leaks. Portable units consist of directional microphones, amplifiers, and audio filters that have either visual indicators or earphones to detect leaks. To prevent further leaks seal by following the steps below:
- Tighten the connections. When there are loosen spots, they become potential points for air leaks.
- Repair or replace parts.
- Swap out hose and tube sections.
- Replace O-Rings and valve Seals.
- Tighten fasteners.
- Create a regular maintenance schedule.
- Regularly inspect compressors. …
- Carry out a complete system Audit.
How to tell if the pressure switch is bad on your air compressor
You need to test the pressure switch before concluding that it is bad. To do this:
- Start by unplugging your air compressor.
- Unscrew the housing unit and remove it.
- Disconnect the sets of wires that run between your pressure switch and the terminal block. Watch out for blue or brown wires.
- Leave the black-and-white wires connected since they power the switch and can be difficult to replace.
- Find the valve and apply air to your pressure switch. Ensure you use the source delivering more air pressure than the current setting. Note that the switch will not engage if you do not use enough pressure.
- Once the r air is applied to the switch, put the leads of your ohmmeter on each of the loose wires.
- When the ohmmeter reads “0,” then the switch is closed due to the pressure and your switch is in proper working order.
- Your ohmmeter may read open, “OL” or infinity, indicating the presence of an issue.
- Adjust the pressure switch’s set point by simply turning the set-point screw counter–clockwise. You should then apply pressure as you do this and find the loop to close so that the ohmmeter reads “0.”
- When the meter reading remains open even when the screw is completely disengaged, then you may have to replace the switch.
Why is my compressor constantly running
It is possible that the pressure switch has failed, and the air pressure in the compressor tank bypasses the normal cut-out point of the compressor. This causes the pressure to continue to build, and eventually, the PRV lets go to prevent over pressurization.
Also, a rapture in the tank or one of the hoses could be letting out air fast enough to prevent the tank from building up pressure to the compressor’s cut-off point.
Constant running could also happen under normal circumstances if you are using multiple tools that require a lot of CFM and PSI hence pushing your unit to the limit.

