Stanley Garage Door Opener How to & Troubleshooting Guide
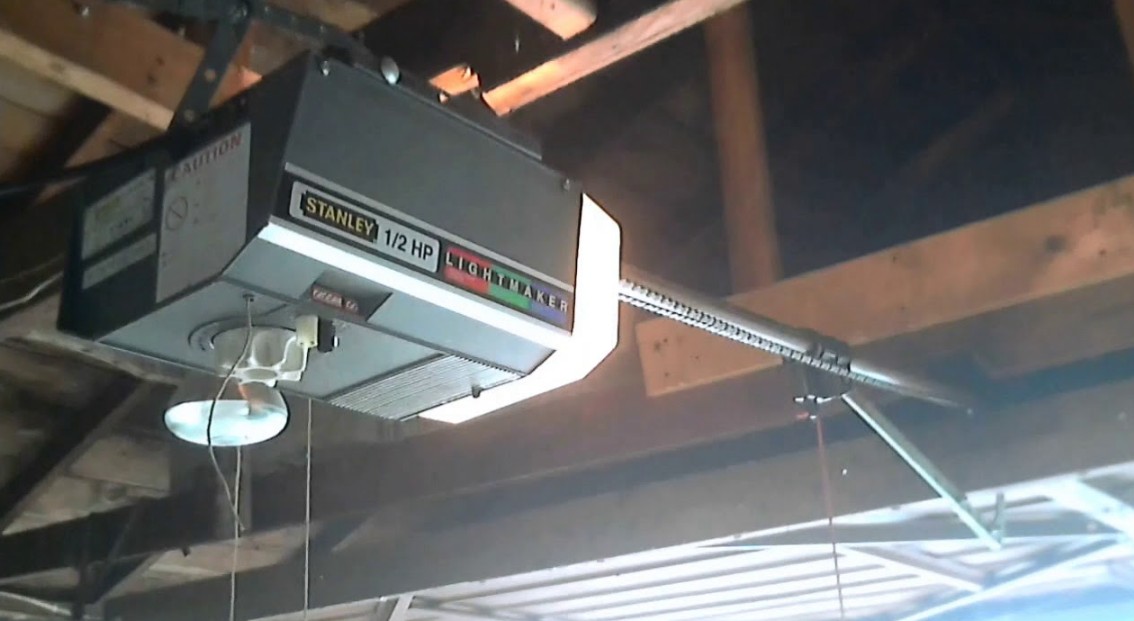
Stanley door openers mostly existed in the 70s, and early 2000s since the company that manufactures them went out of business. But there are still other companies that make the replacement parts like the remotes, keypads for the Stanley doors. So if you still use this brand and encounter some issues, this article will help you troubleshoot them.
How Do I Reset My Stanley Garage Door Opener?
Stanley door opener has the following reset procedure;
- Find the button on the engine that reads “Learn” or “Home.” You can find the button on the device’s antenna next to the LED.
- Depending on your opener’s model, you may need to remove an access panel to reach the button.
- Press the controller and hold it for five to six seconds or until the LED goes off.
- Later press the same button again to reset the opener.
Why Does My Stanley Garage Door Opener not Close All the Way?
- The travel limit isn’t correctly adjusted. Carry out both open and close adjustments as explained above, then do a safety reverse test.
- There may be an obstruction that sets off a sensor, so you need to clear anything from the way.
- The sensors may be out of alignment to confirm this check if the lights on both sensors are on.
- Check the opener; using the manual reset, the up-force, and the down-force.
Stanley Garage Door Opener Flashes and their Meanings
The following are the flashes that can occur in your garage door opener and their meanings;
- One flash- the safety wire may be broken, open or disconnected. Replace any short or broken cables and reconnect any incorrect wiring.
- Two flashes- sensor wire has short or black and white wires are reversed. Replace the cables or safety sensors.
- Three flashes- connects with the door control or wire being short. Replace door control if the opener activates.
- Four flashes- sensor eye may be misaligned
- Five flashes- motor may be overheated or RPM sensor failure. Unplug the unit and reset it. If the flashing continues, replace the RPM sensor. If the motor unit fails to operate, replace it.
- Six flashes- motor circuit failure. Replace the receiver logic board.
Why Won’t My Stanley Garage Door Opener Remote Work
There are times you can press the remote, but the garage door doesn’t move. Here are some of the causes and how to fix them;
- The door may be locked- press the lock button on your wall switch and try using the remote.
- Batteries are dead- replace the batteries in your remote and try using the remote.
- Remote is out of range- ensure you stand close to the motor as you use the remote.
- Photo eyes are faulty – check the connection path, ensure there is alignment and wipe the lenses.
Why Won’t My Stanley Garage Door Opener Remote Work at a Distance
- The antenna wire hanging from the motor may not be straight, so fix it.
- The LED lights may be generating radio emissions. First, unplug the LED bulbs and test the remotes. If the remote fails, replace the LED with a different brand.
- There may be issues with the wires in the control panel. Check if they are short, replace and test the remote.
- There may be electrical power interferences. Have a technician check for you if all the other trials have failed.
How to Maintain and Adjust Your Stanley Garage Door Opener
Follow the following steps to maintain your door opener properly;
- Clean your metallic garage door regularly to remove any dirt that may prevent it from working. For the wooden door, use mild detergent and a soft brush.
- Paint the wooden door after few years.
- Oil the moving parts like the springs, rollers, pivot points at least once a year for your door to operate smoothly.
- Tighten any necessary hardware like the roller brackets and bolts.
- Clean and lubricate the door tracks. Use a cloth and non-corrosive cleaner to wipe the door tracks. Remove all excess moisture and then lubricate; use the best lubricant for the rollers to run smoothly.
- Test the garage door balance, and if it’s uneven, call a technician.
- Test the auto-reverse safety features of your opener. For example, if your door touches an object in its way, it should reverse its direction. If it fails to reverse, it’s time to buy a new garage door opener.
To adjust your door opener, you require a step ladder and screwdriver.
- Locate the openers controls. Use a step ladder to reach the main part of the opener’s motor.
- Adjust the opener settings. Using the screwdriver, turn the knob counterclockwise one-quarter to decrease the amount of force needed to reverse the door. Again, to increase the amount of energy, turn the knob clockwise.
- Re-test the auto-reverse function and, if necessary, repeat the steps above until the opener gets fully adjusted.
- If the garage door fails to reverse correctly, ask the service provider for repair immediately.
How to Program Your Stanely Garage Door Opener
- Thumb the “access learn” and “radio learn” keys together.
- Hold the keys together for 10 seconds, and the light should be off.
- Press the access learn button twice; the light should flash each time and later stay on.
- Key in a four-digit access code that you will use.
- Press the access learn button once. If the lights blink quickly, you should re-enter the code.
- Press the radio learn key twice; the light flashes each time and stays illuminated.
- Key in the radio code that applies to your opener; you can find it in the manual.
- Press the radio learn key once. The light should turn off; if it blinks quickly, you should re-enter the code. Your Stanley door opener is now set to work.
Where is the Learn Button on Stanely Garage Door Opener
You should find the learn controller above the receiver wire that dangles from the engine.
How Do I Change the Code on My Stanely Garage Door Opener?
- Press the access learn and radio learn buttons on the keypad and hold for ten seconds.
- The access code will be set to 1-2-3-4.
- Set a new security code for your door opener. Press the access learn controller twice; the red light will switch on.
- Enter the 1-2-3-4 code.
- Then enter a new four-digit code of your choice and press the access learn button once. The red light should now turn off.
How Do You Set the Limit on a Stanely Garage Door Opener?
For a Stanley door in the open position, use the “learn down” and “move down” to set the closed limits. While for a closed-door, press and hold the ”learn up” and don’t release until it completes programming the open position.
Why is My Stanely Garage Door Opener Light Staying On
- You may have triggered the motion sensors- if you keep walking in and out in front of the beams, the light will remain on.
- You may have activated the light using your remote.
- The light may also be activated through the door control panel accidentally. Try pressing the light button to turn it off.
Why is the Garage Door Opener Activating by itself?
The door may activate itself due to the following reasons;
- Electrical short in the system could be in the circuit board, remote, wall, or button.
- Defective remotes or one with worn-out batteries can send out random signals.
- Interference from police radios, radio stations, towers near your house can disrupt the signal.
- If you have stored your spare remote in a drawer, items could accidentally press the button.
- If you live around the military base, electrical equipment could operate on the same frequency as your opener.
- During a thunderstorm, an electrical surge can damage the electrical elements and cause them to open randomly.
Check this too: Homelink Garage Door Opener How to & Troubleshooting Guide
Why is the Garage Door Closing then Opening When it Reaches the Floor?
- The logic board on your door opener may be worn out and requires replacement.
- Check the settings of the limit switch; they may require adjustment.
- You need to adjust the travel down setting
- Check if there is any blockage


